
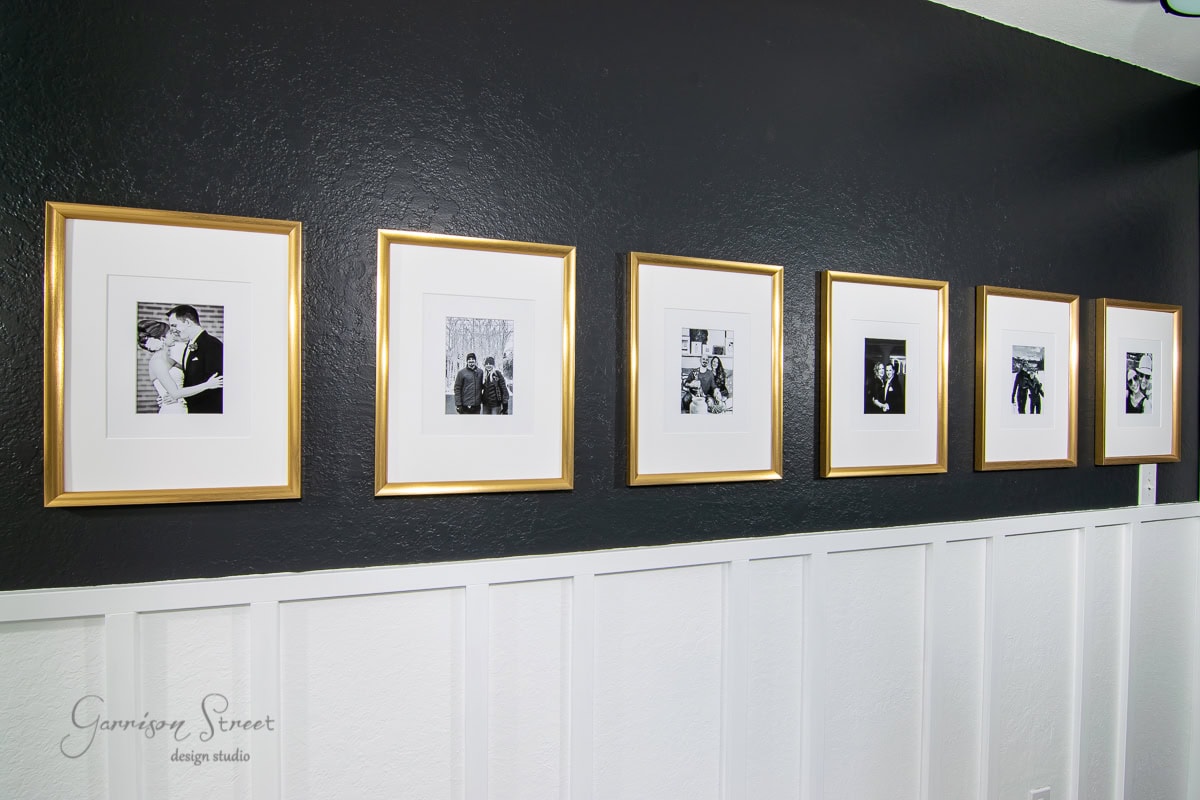
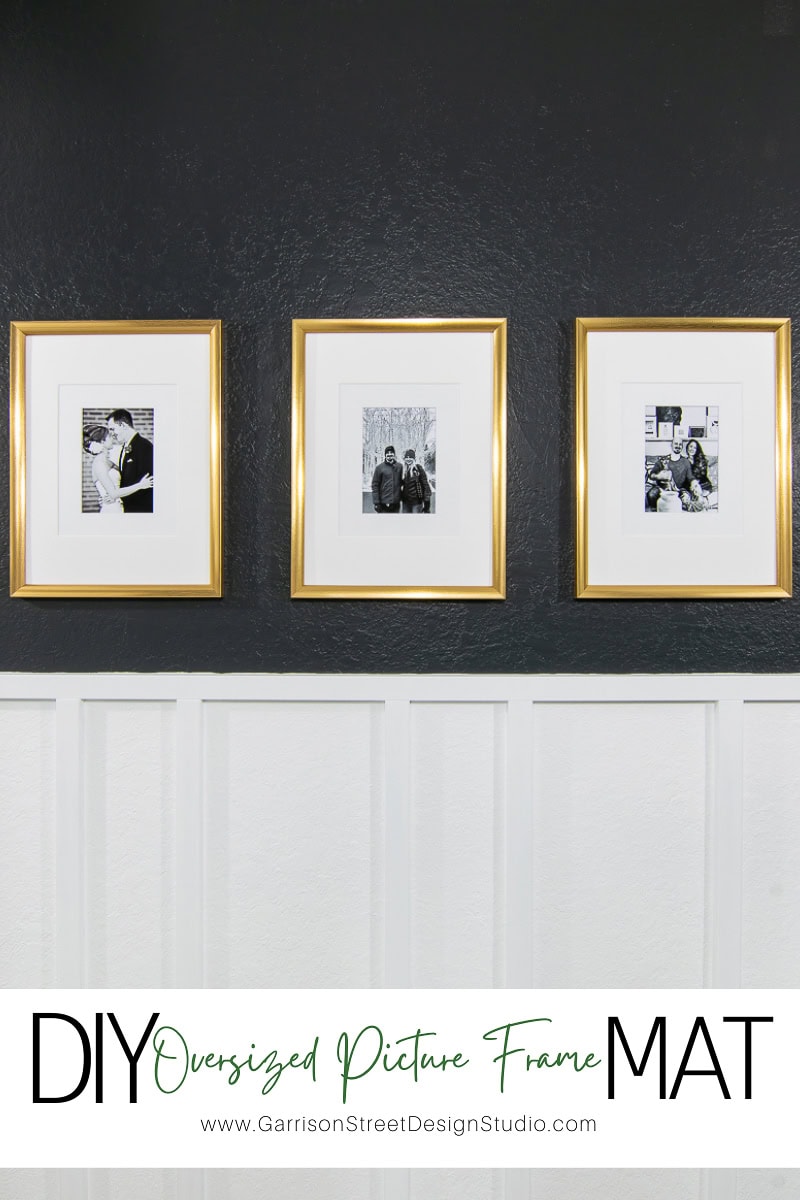
DIY Oversized Picture Frame Mat for Gallery Wall
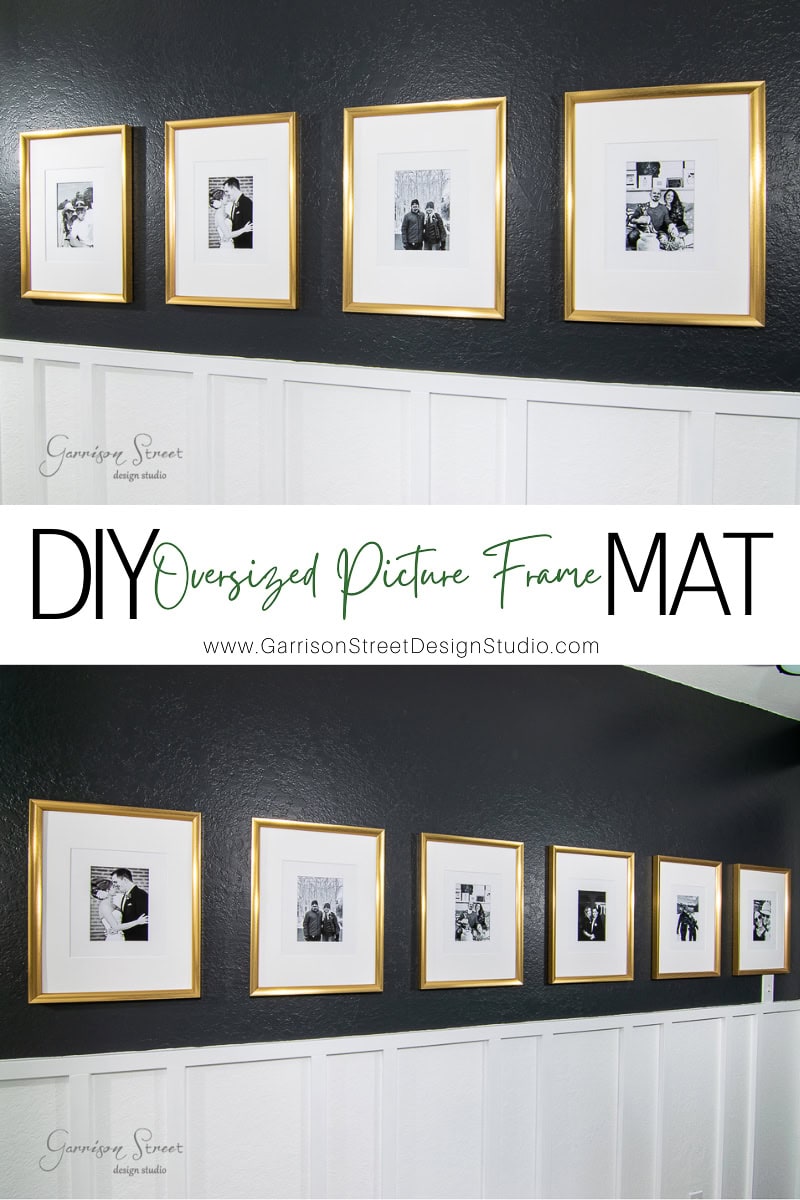
Last week I revealed our modern hallway makeover and this week I want to talk about one of my favorite elements, the DIY oversized picture frame mats. When I decided I wanted to tackle this space I knew I wanted to display some of the many family photos not being seen on my computer. I think we can all relate when I say too many photos never make it off the camera or phone. But I wanted to change that! So I came up with a simple DIY to show off these beautiful family pictures and tie them all together with oversized mats. Let me walk you through how I did it 🙂
This post contains affiliate links. For more information, please see my policies.
I definitely have a little bit of a love hate relationship with family photos. I love the idea of displaying cherished memories, but being a child of the 80s I am a bit traumatized by the old school spread of EVERY photo ever taken adorning the walls in dated oak frames. So you can see my hesitation, haha! Nonetheless, I was determined to find a modern solution. I must confess, I was definitely inspired by these oversized square frames, but at over $100 a pop for the large size that was just not happening.
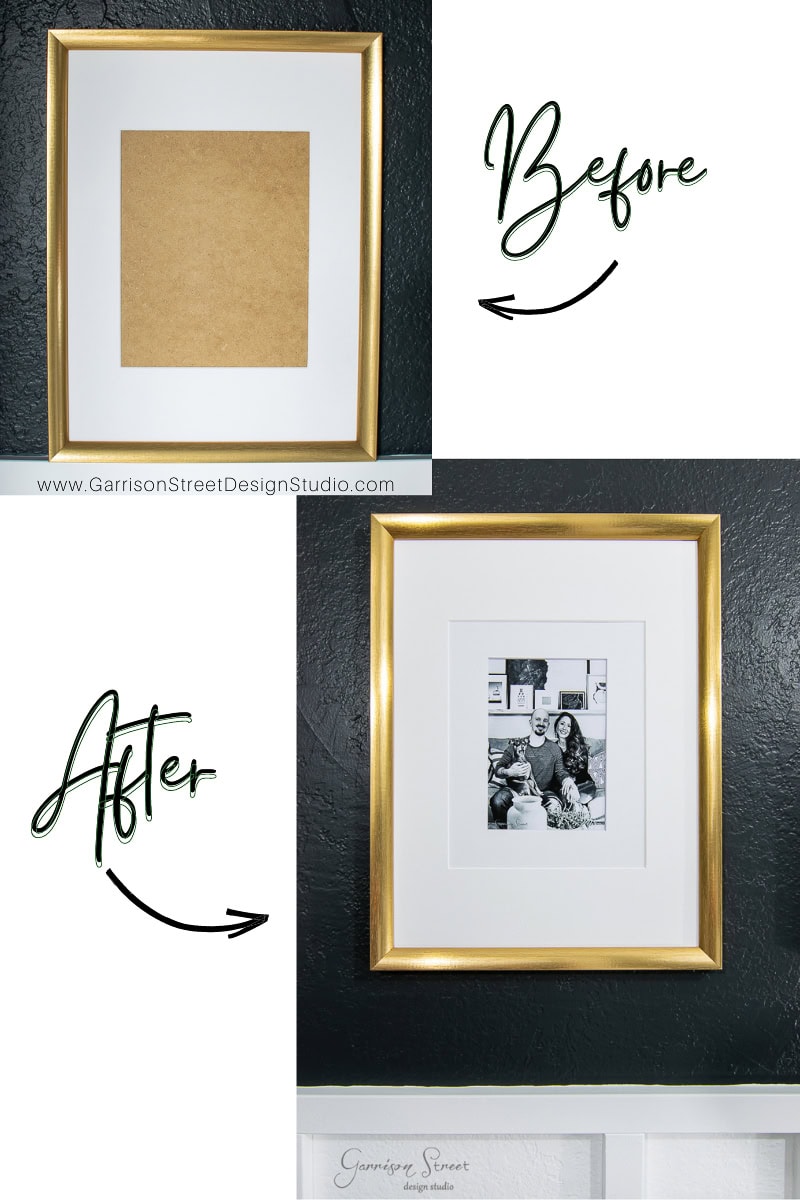
So I came up with one of the easiest DIY projects utilizing an existing mat and large frame. This is creative way to give a gallery wall a new look for a fraction of the cost and without having to create a custom mat from foam board.
Step 1: Picking a Frame
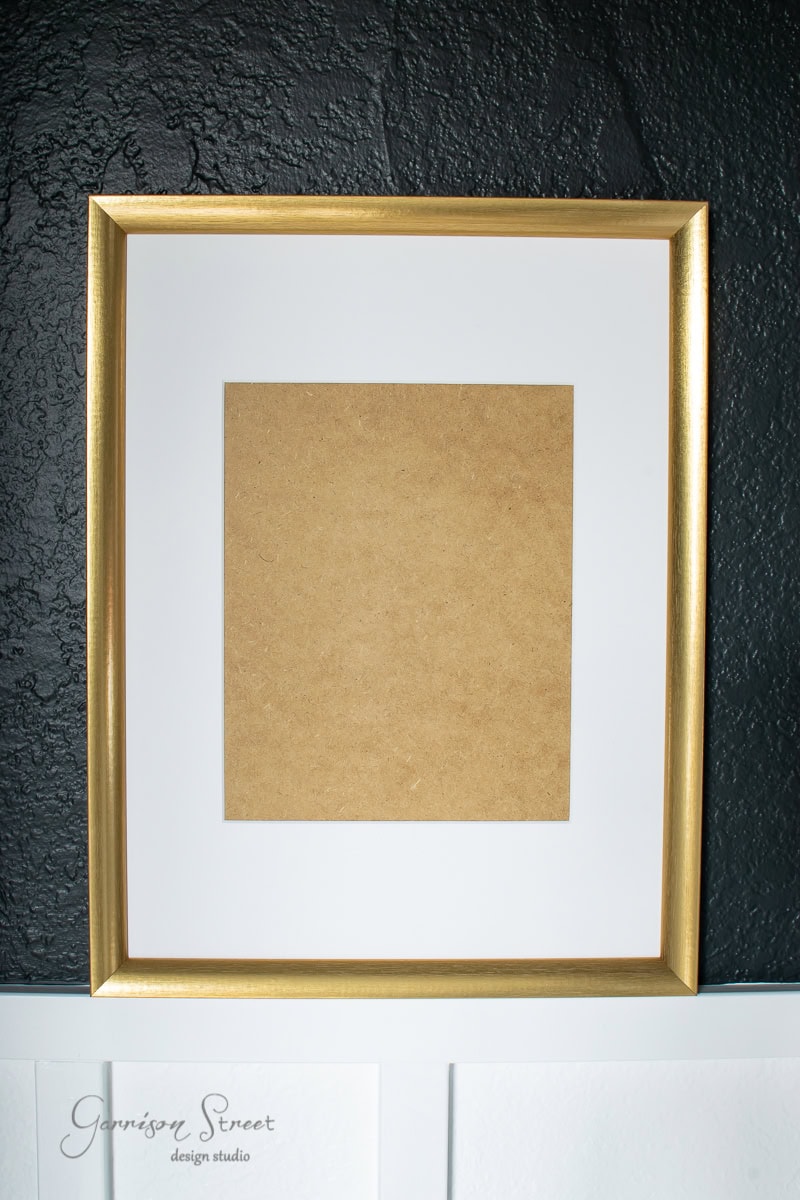
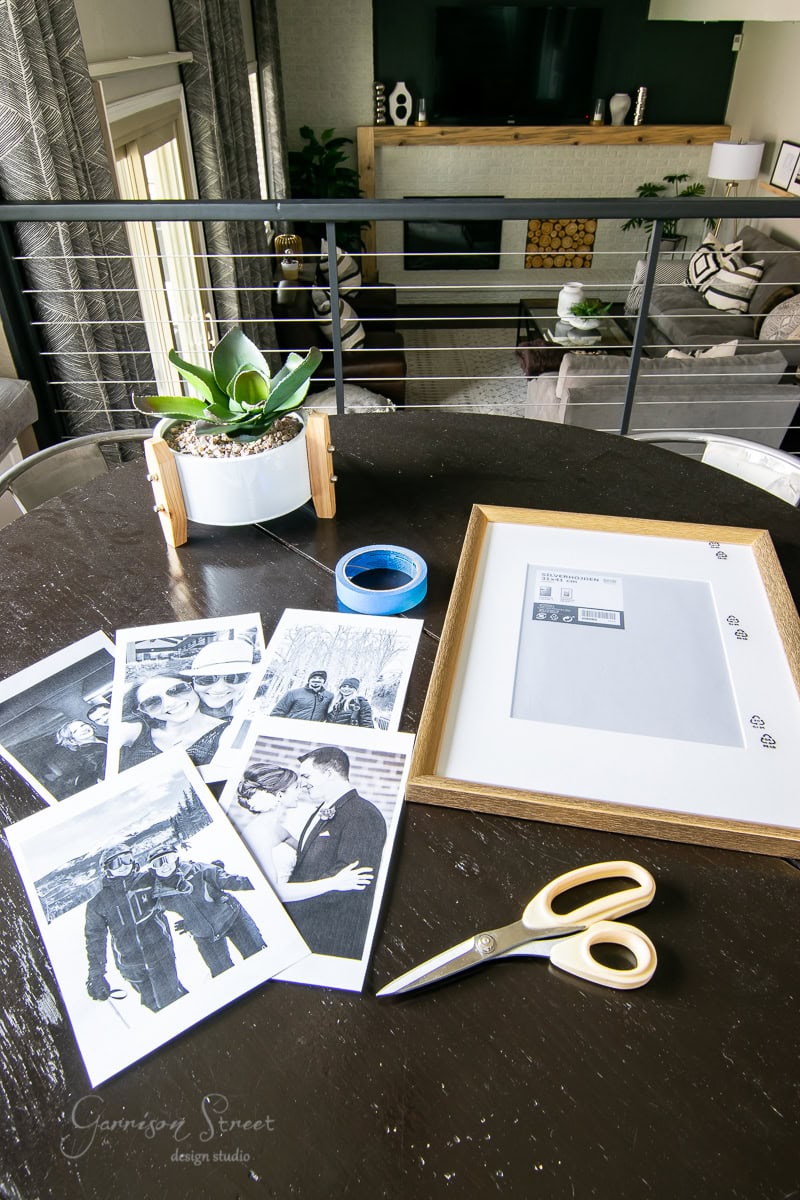
The first thing I did was pick the frames. If you have been around for a while, you know I love IKEA and I think they are a great resource for picture frames and other home decor. I have used their frames all over and most recently on my DIY Art Ledge. So it should come as no surprise I chose the gold Silverhojden for this project. I liked the contrast of the gold with the dark walls and the price was right.
Feel free to choose a frame that fits your style and overall size of your walls. Black frames, wood frames, and even vintage frames can be used here.
Step 2: Order Additional Mats
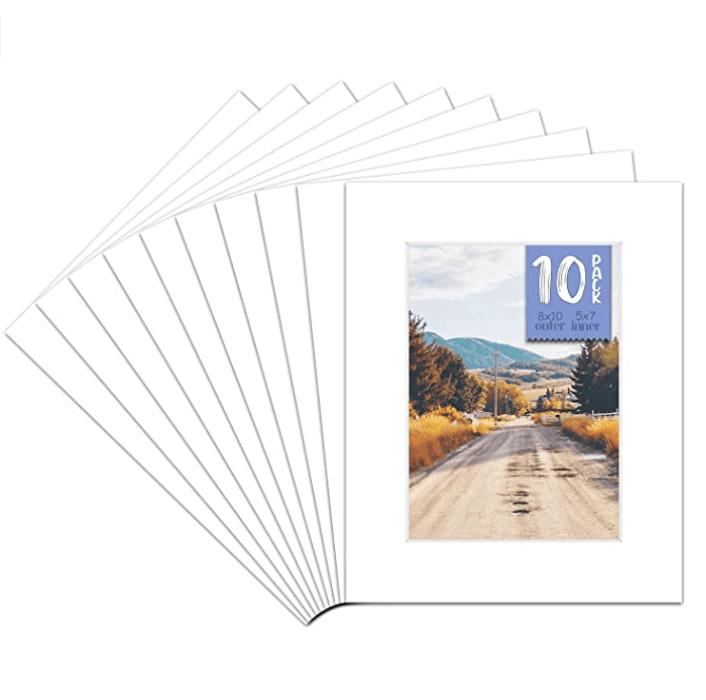
The IKEA picture frames I used do come with mats with an opening for an 8×10 photo but since I wanted to achieve that oversized picture frame mat look, I ordered these 8×10 picture mats to take the photo openings down to a 5×7. I chose a white mat to blend in with the existing IKEA frame mats.
Step 3: Choose Your Photos
I’m not going to lie. This was the most time consuming part of the process. I may or may not have spent hours going down memory lane trying to select just the right family photos for this project 🙂 I printed all the photos on my home computer.
Step 4: Add the Second Mat to the Picture Frame
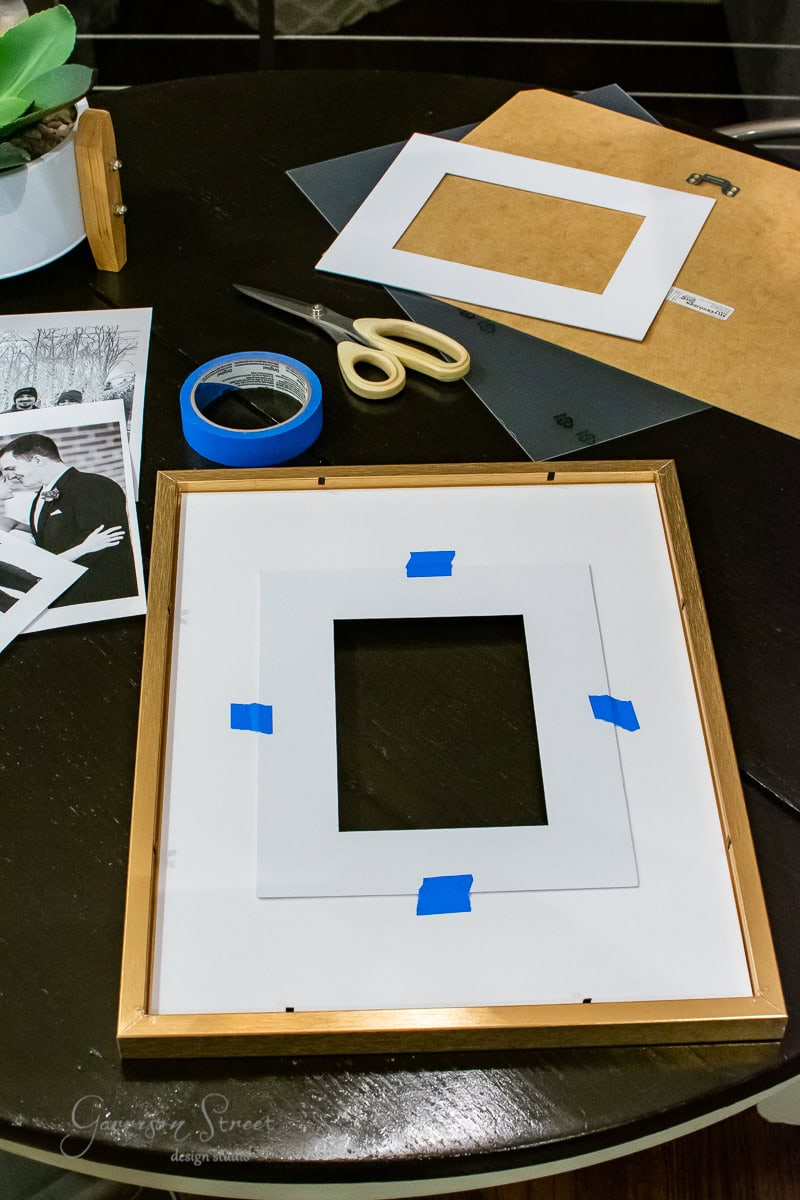
Remove the back of the frame and line up the smaller mat with the center of the larger mat and tape it in place with painter’s tape. I like using painter’s tape because it isn’t as sticky as some others and it allows you to peel it back and reposition without damage. Don’t worry, you can’t see the blue through the mat.
Note, adding your own photo mats to the inside will change the overall mat opening size and you will need to take that into account when printing your photos.
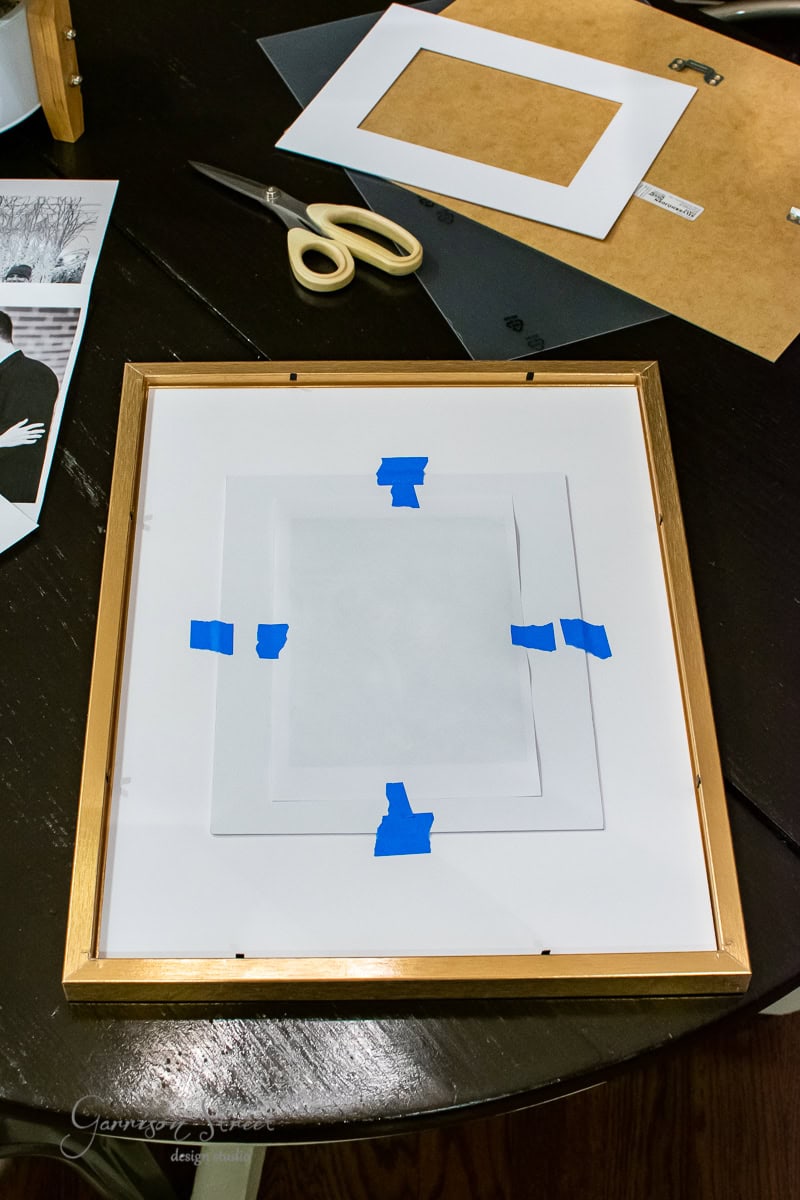
Step 5: Add Your Photos to the Picture Frame
Again, I used painter’s tape to secure my photos to the back of the mat so I can swap them out later or reposition them without causing damage to the mat or the photo.
Step 6: Hang Your Photos
Hang up your photos and enjoy your new oversized picture frame mats! See, I told you this was a really easy project!
This easy tutorial is a great way to make oversized mat gallery wall frames for smaller or larger frames. They can be hung in a hallway, living room, foyer, or anywhere you have blank white walls to fill.
Designer Tip
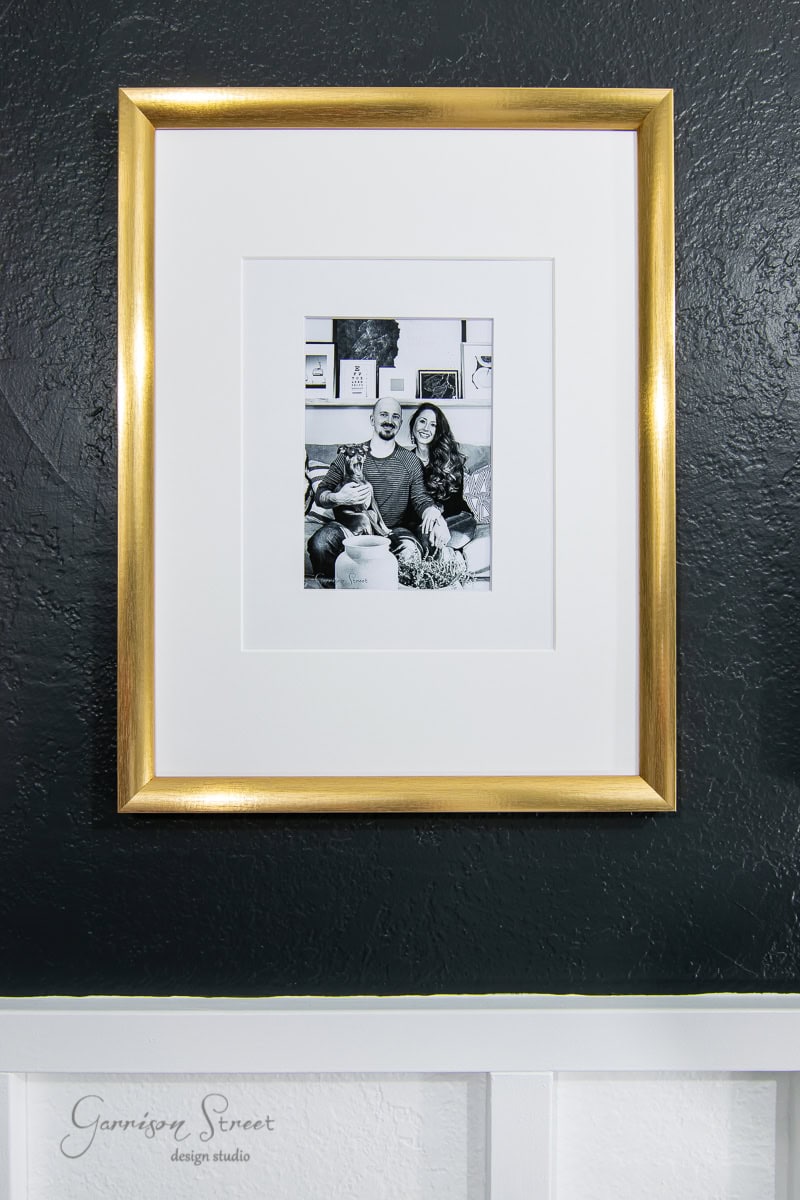
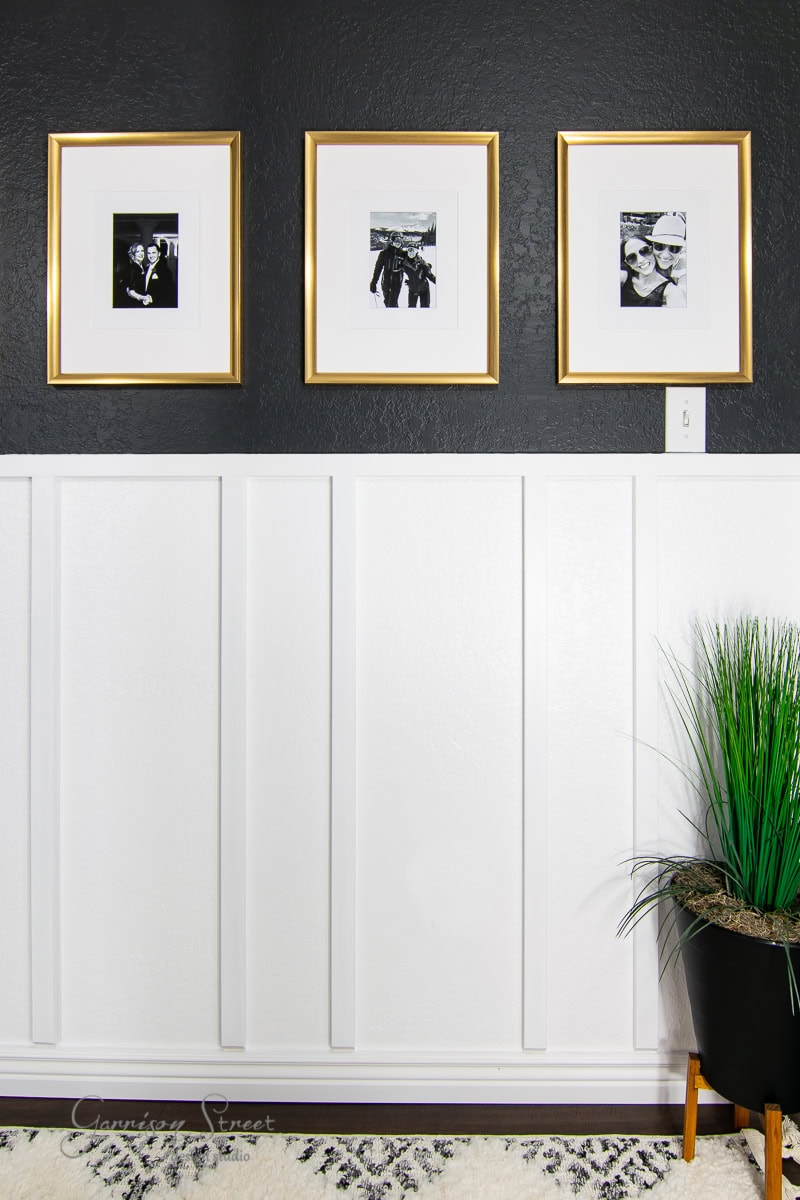
When grouping multiple photos together, using black and white photos makes for a more modern look. It provides a cohesive feel like they all go together rather than having a color change in each photo competing for attention. Repeating the same size picture frames also gives a clean and consistent feel and keeps the grouping from looking cluttered. Using different sizes gives a more eclectic and vintage look.
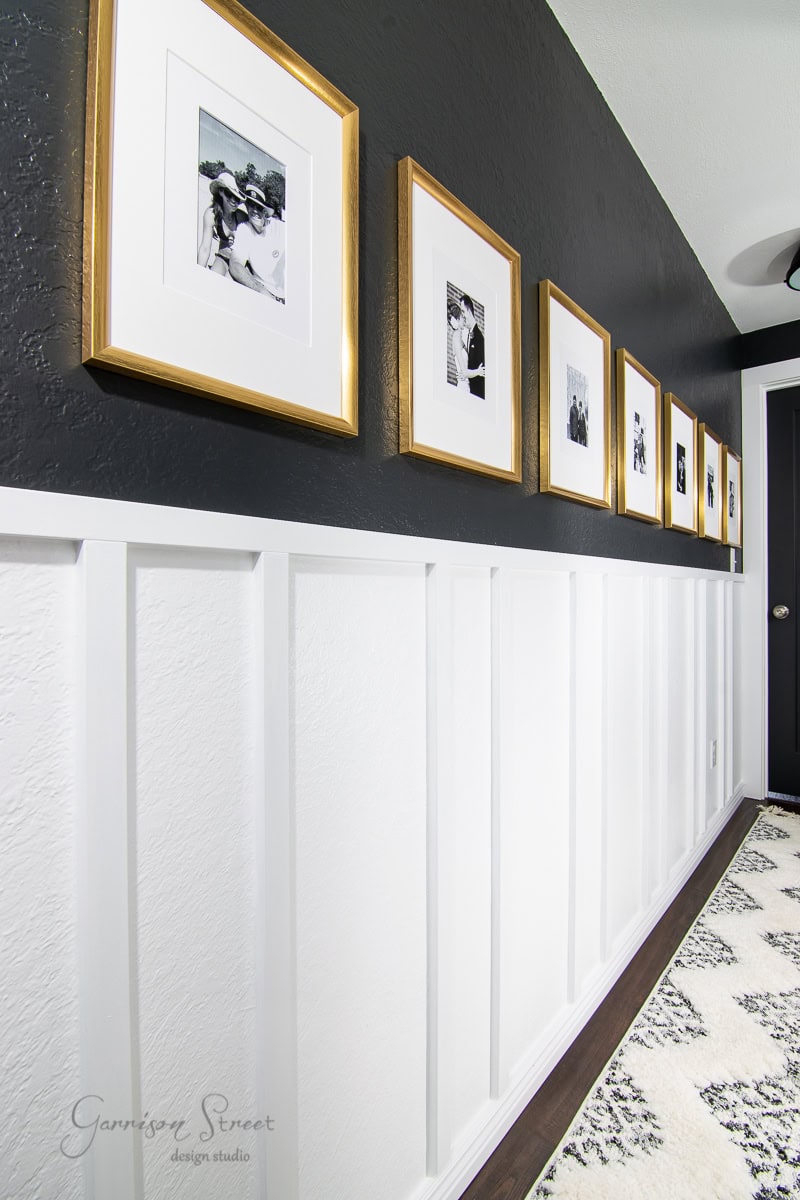
The gold frames pop off the black wall an give it a modern look while still cherishing the family memories.
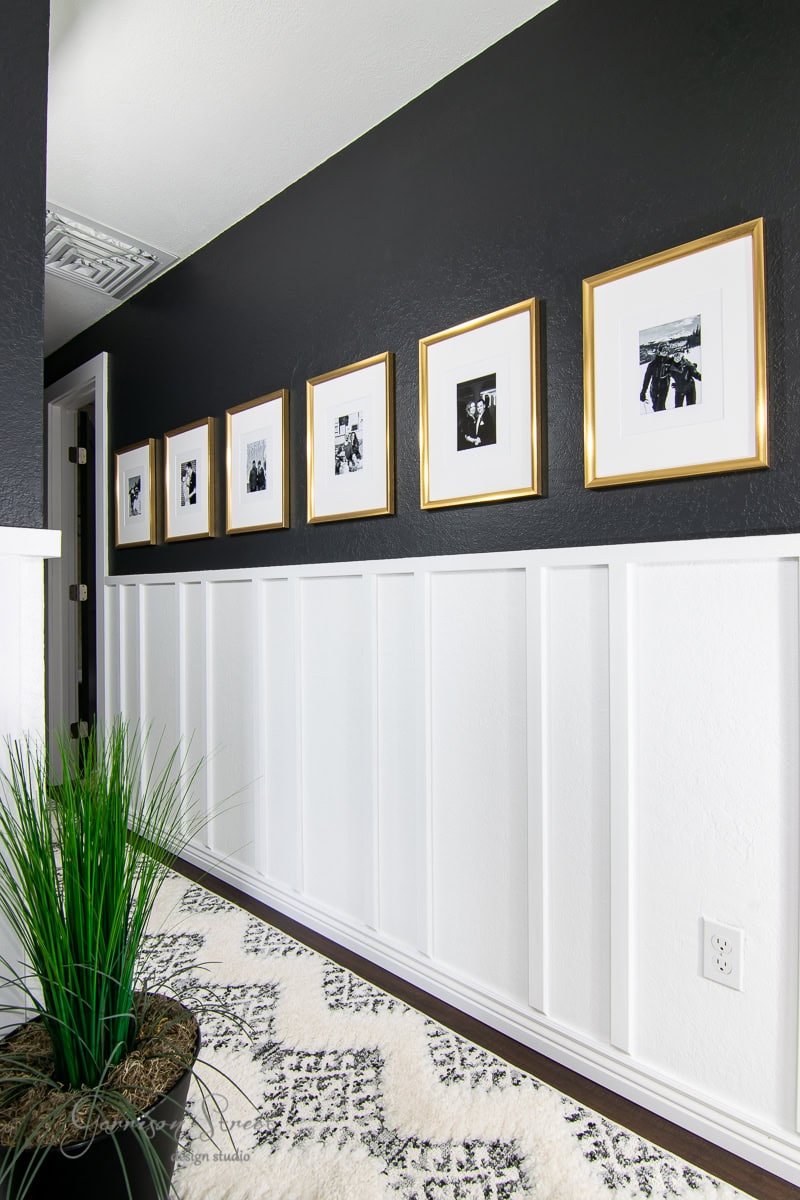
I am so excited to not only have a new modern hallway design but also finally be displaying some of my favorite family photos! If you are part of my family and didn’t make it to the wall of fame that just means the next time I see you we need to take some pictures 😉 Make sure you follow me on Instagram stories to see our next project in action and all the behind the scenes!
If you enjoyed my DIY Oversized Picture Frame Mat, please share it on Facebook or hover over an image and save to Pinterest! And if you don’t already follow me on Instagram, Pinterest, or Facebook, I would love for us to be friends!
Love new ideas and projects? Subscribe to receive DIY and design inspiration delivered straight to your inbox! Plus you will receive access to all my free printables! These are only available to my awesome subscribers as my way of thanking you for your continued support!
This post, DIY Oversized Picture Frame Mat for Gallery Wall, appeared first on Garrison Street Design Studio.

Are you kidding?? You are a genius. This is so damn beautiful in every way. The frames from IKEA are perfect and your re-engineering them with the 5 x 7 mats in back of the 8 x 10 mats looks so good. Also, printing photos in black and white (actually could print them in sepia too I think) makes them look very art gallery like. I’m always looking for ways to do unique framing, and this is wonderful. I also like that you can easily switch out the photos with the painter’s tape. Like I said, genius!!! Hats off to you.
Thank you so much Jacqueline! I am so glad you like it. You are right, sepia would make a really pretty gallery wall too 😉