
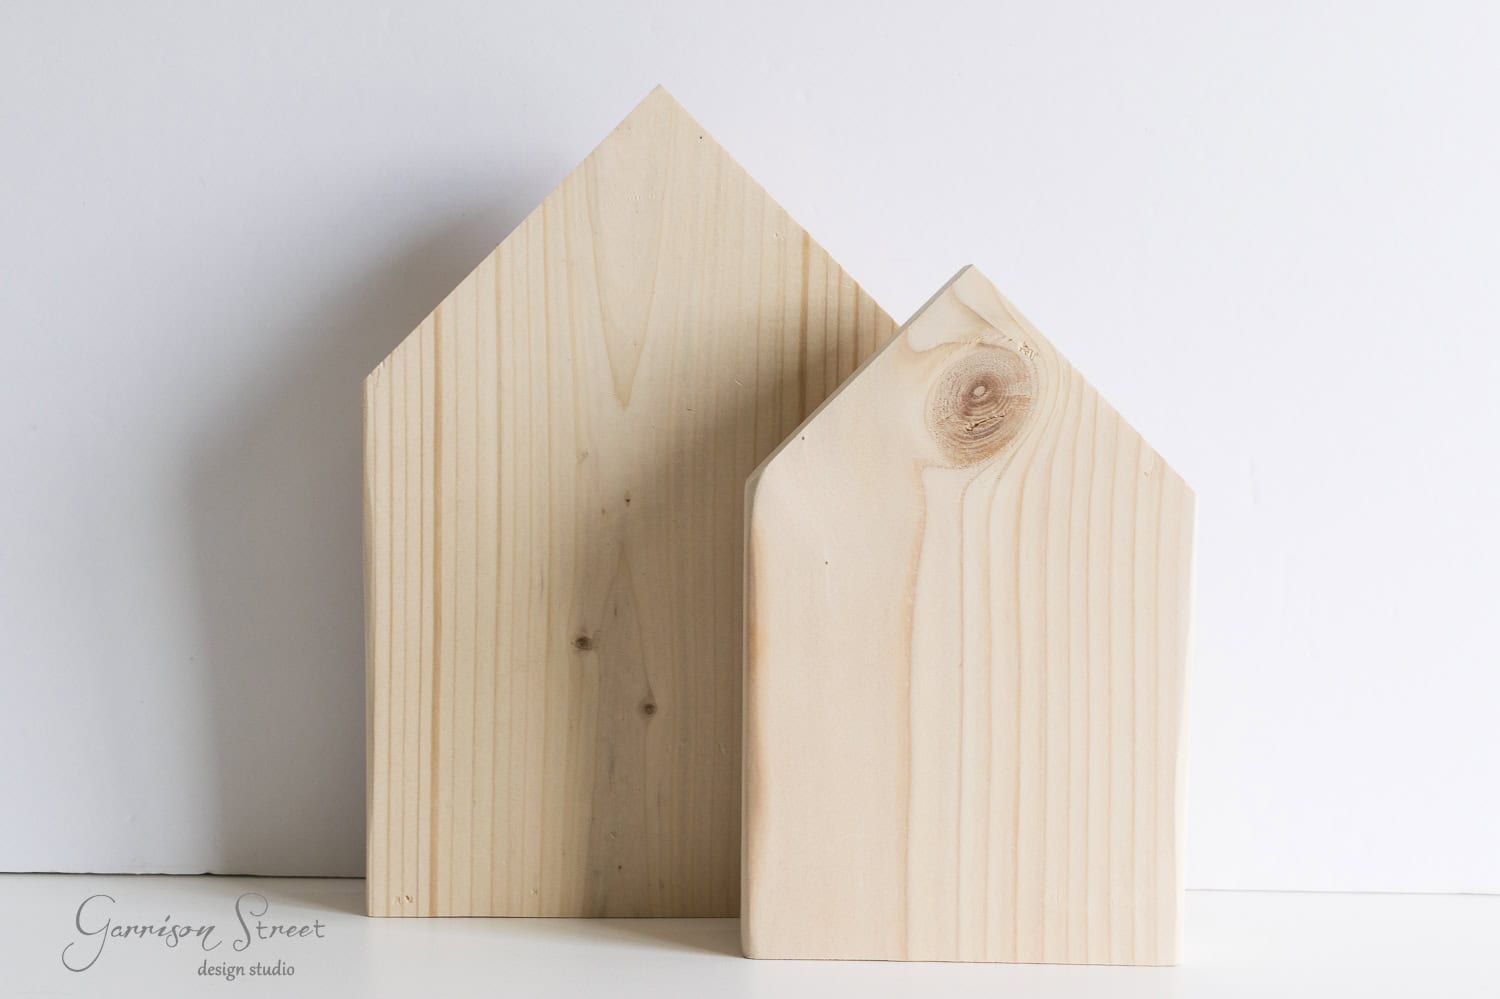
How to Make Easy Decorative DIY Scrap Wood Houses
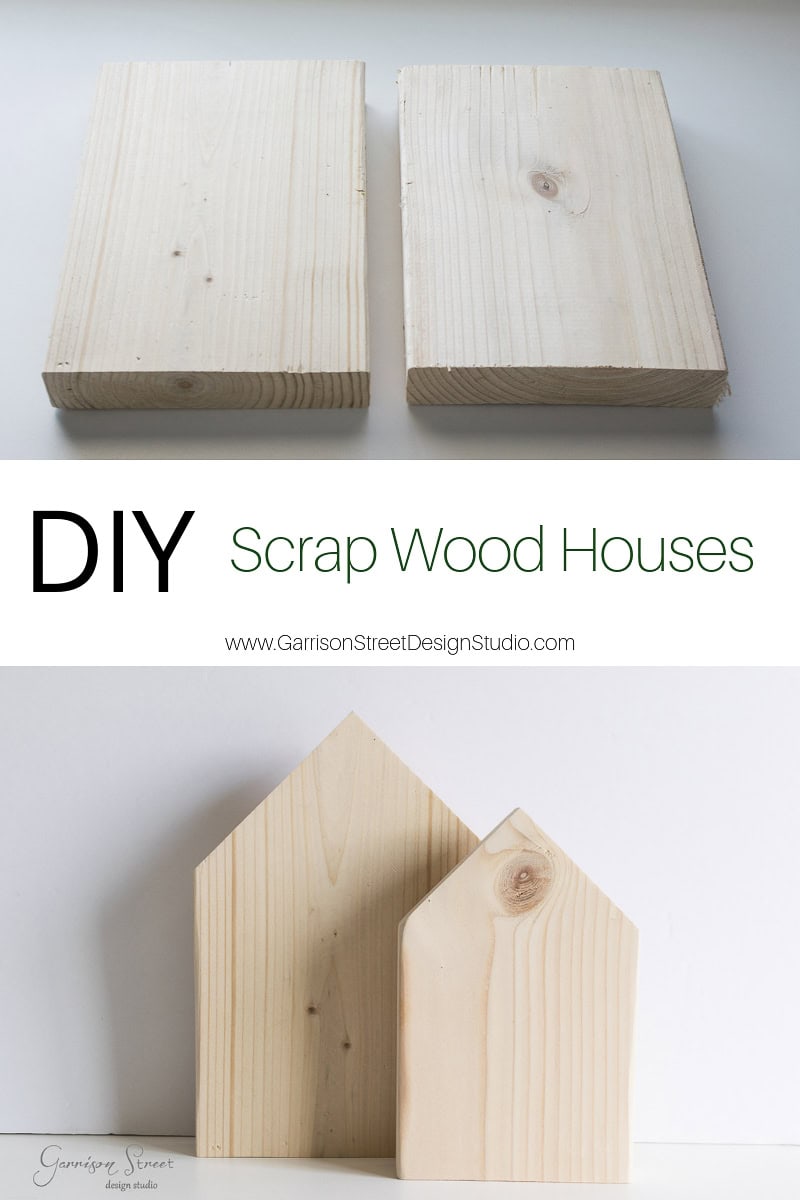
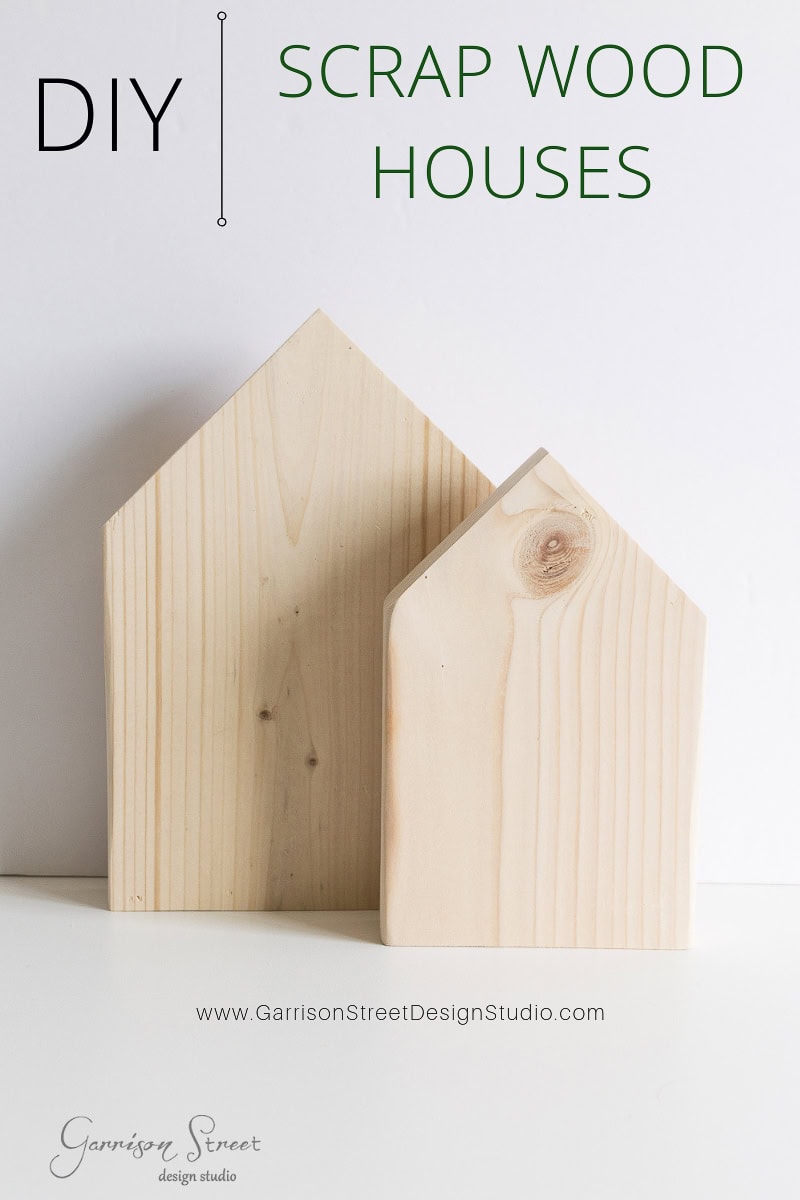
Hey guys! Can you believe Christmas is one week away!? How did that happen so fast? I feel like just yesterday I was dreading the daunting task of putting up all the Christmas decor. Speaking of which, if you saw my Christmas house tour, you have likely seen the new home decor I made out of pieces of scrap wood. They were so easy and today I am going to show you how to make your own DIY scrap wood houses in just 5 easy steps!
This post contains affiliate links. For more information please see my policies.
I originally made these little houses as Christmas decorations because simple little house villages have been all the rage this season. They have sat on our bookshelf for close to a month now and I am starting to think they will become a more permanent part of the family room decor. Ever since I redecorated the family room and we finished the mantel, I have been on a mission to add more natural elements and these definitely fit the bill. So how did I make these small wooden houses?
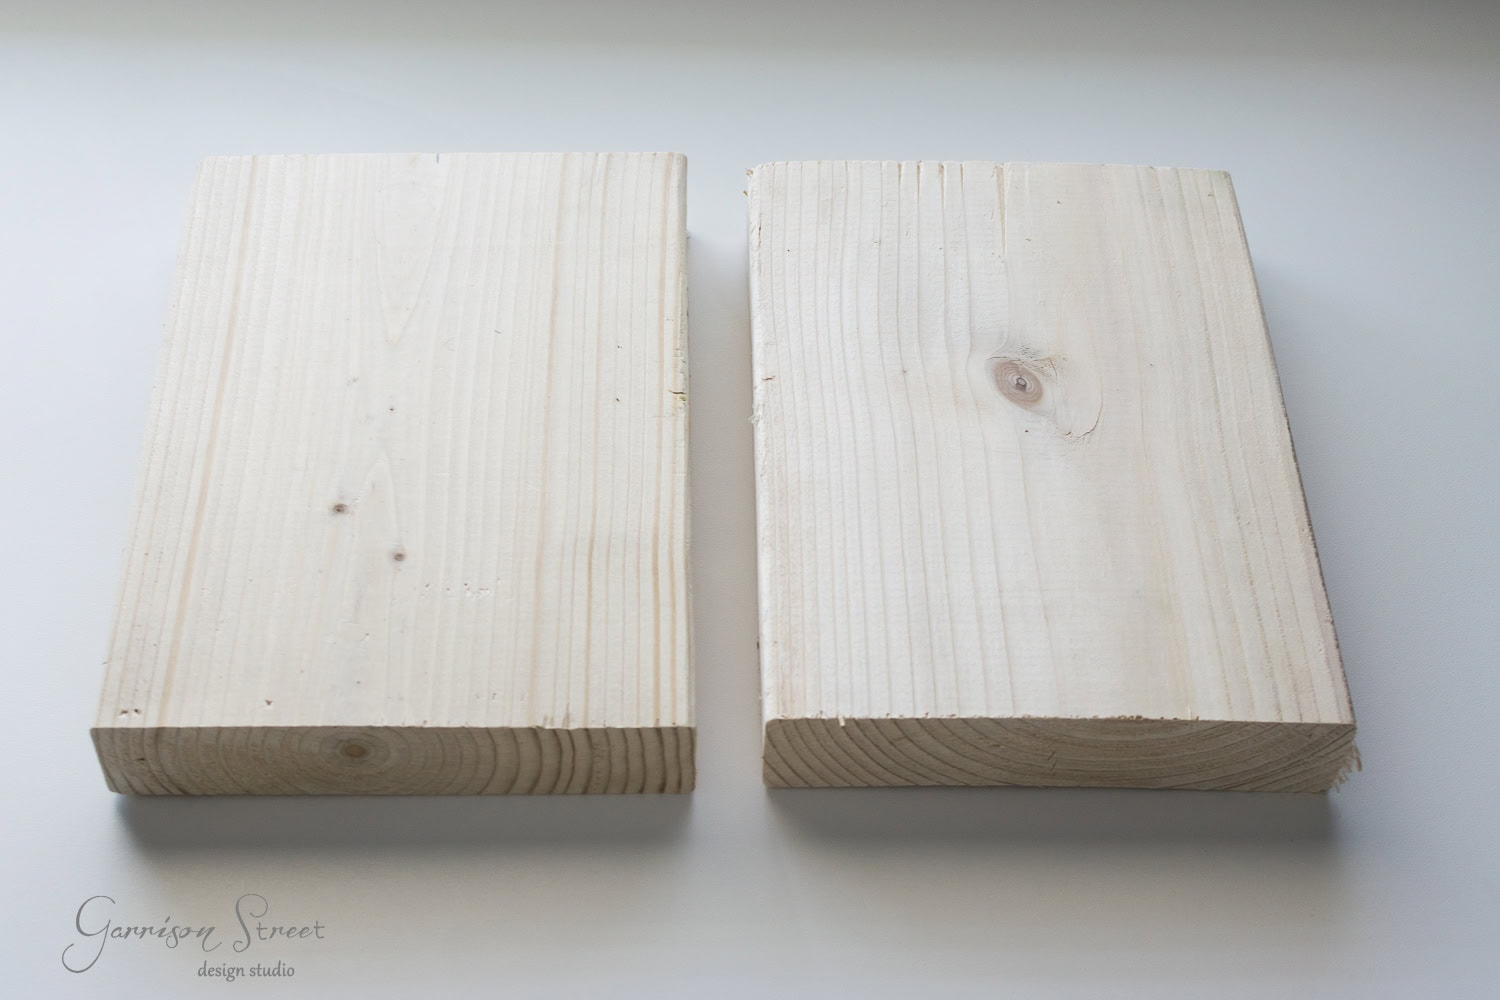
Step 1: Get Some 2x8s
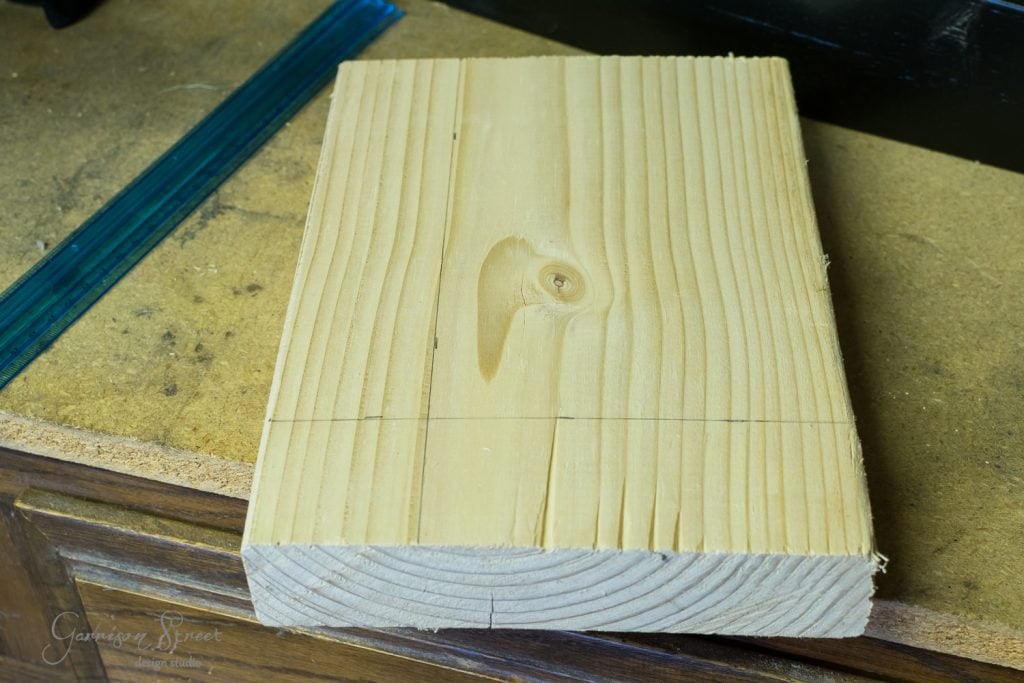
I started with some small pieces of scrap 2x8s from our outdoor sofas we built in the spring. The pieces I used were 10 inches long.
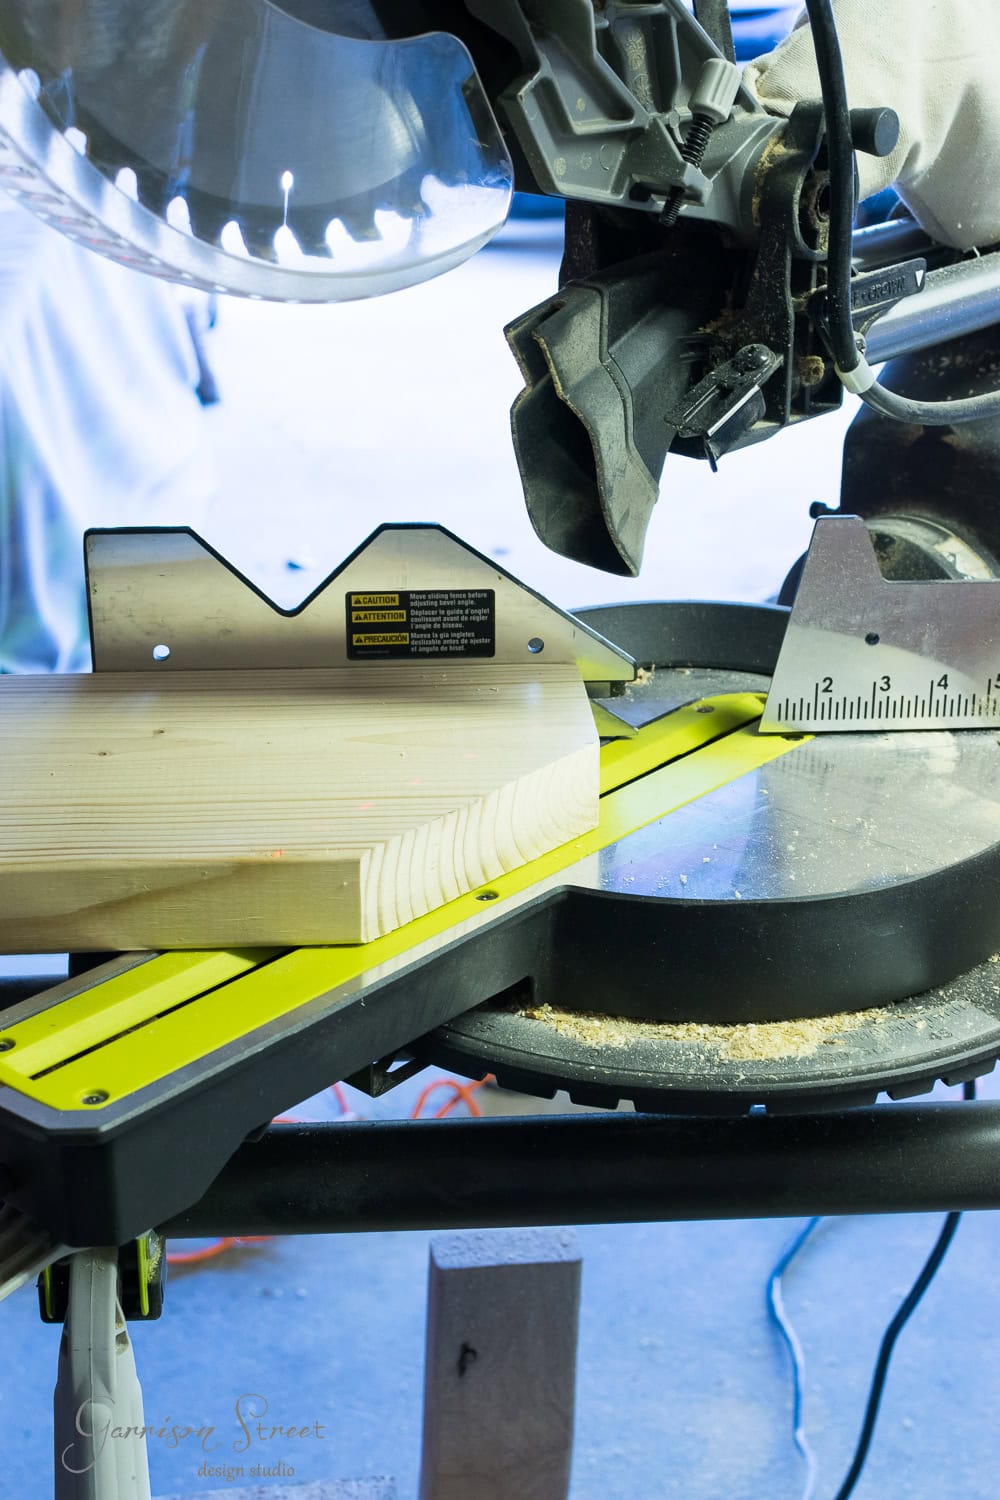
Step 2: Make Horizontal Cuts
To make the house shape, mark the horizontal center of the wood and make a 45 degree angle cut from the center point. I used our miter saw for this.
Step 3: Mark Line
Then use a pencil to draw a straight line across the piece of wood to help you line up your second 45-degree angle cut. This will be the bottom of the miniature roof lines.

Step 4: Cut for Stagger
To make staggered sized scrap wood block houses you will need to trim down the second piece of scrap wood. Draw two straight lines to trim the second piece of wood down 2 inches from the top and 2 inches from one side before repeating steps two and three.
Step 5: Sand
Sand any rough edges and smooth out the surface. I used our orbital sander, but you could also use sand paper or a sanding block.

At first I planned to paint them, but when I decided to put the houses on our dark bookcase, the natural wood seemed like the right choice! You could definitely stain them or paint them if you prefer!
The Finished Scrap Wood Houses
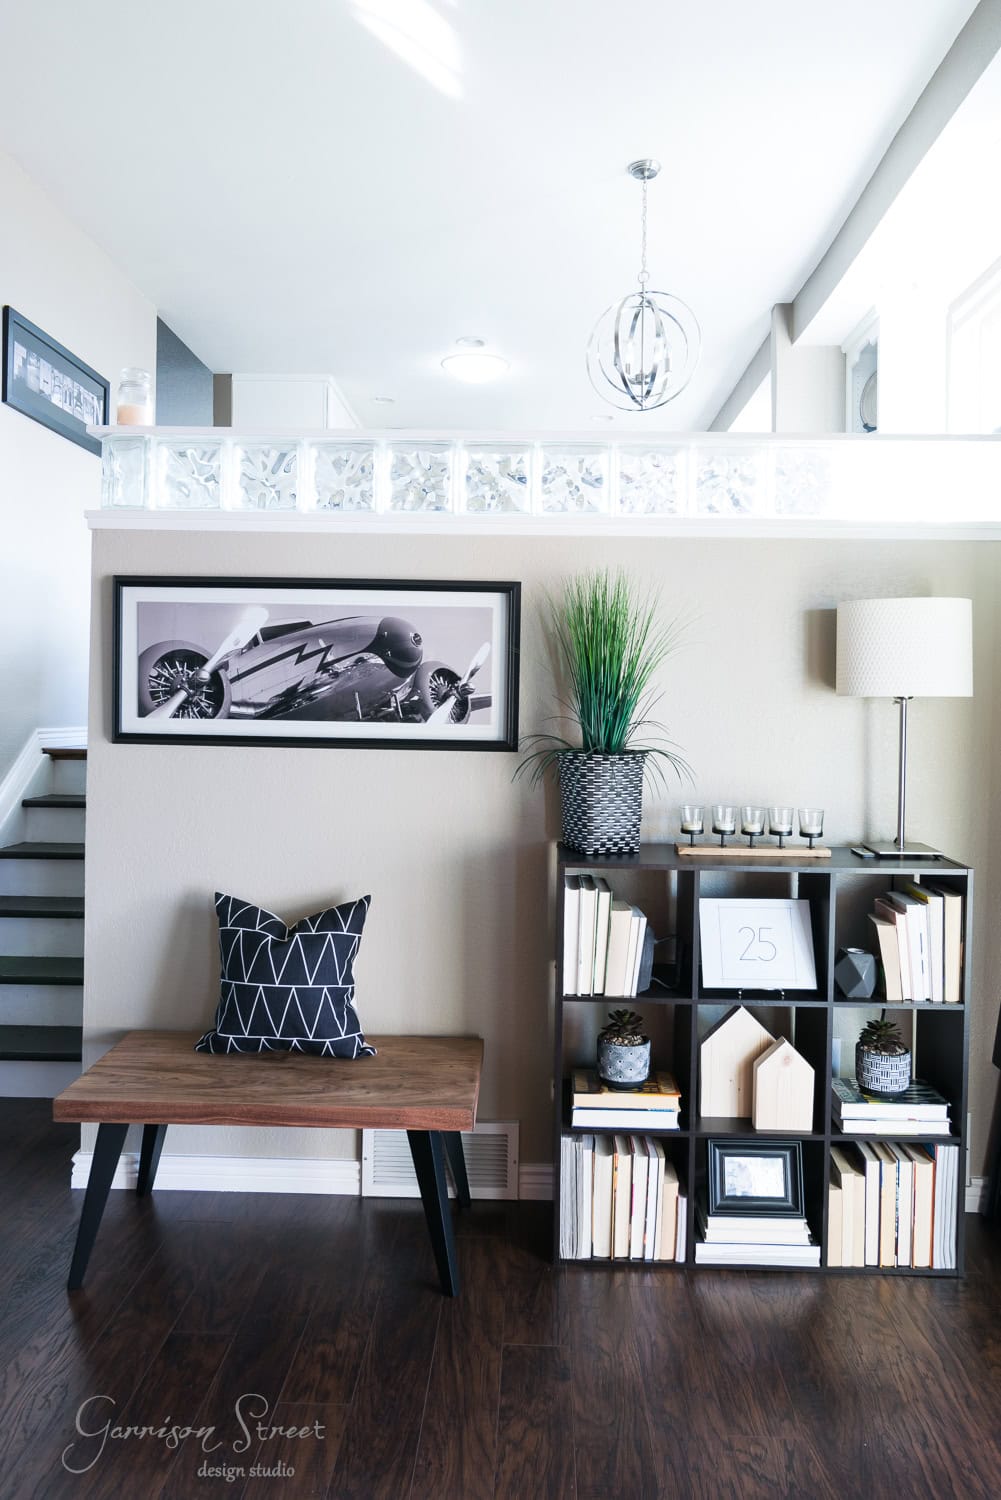
Here’s a closer look on the shelf.
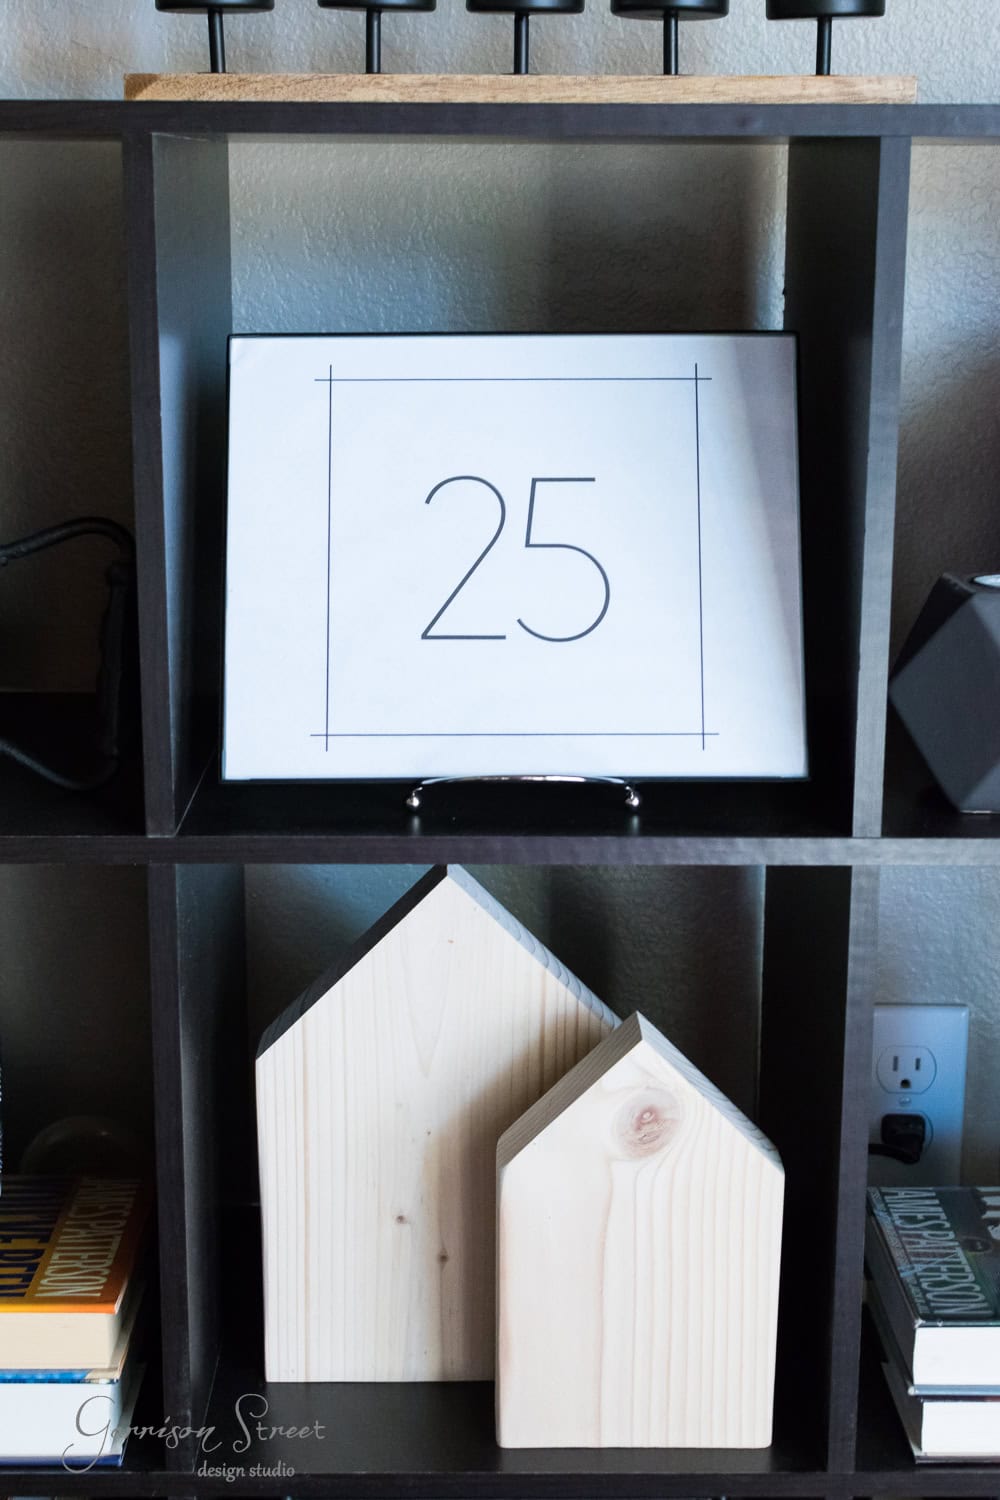
And a close up of the houses themselves.
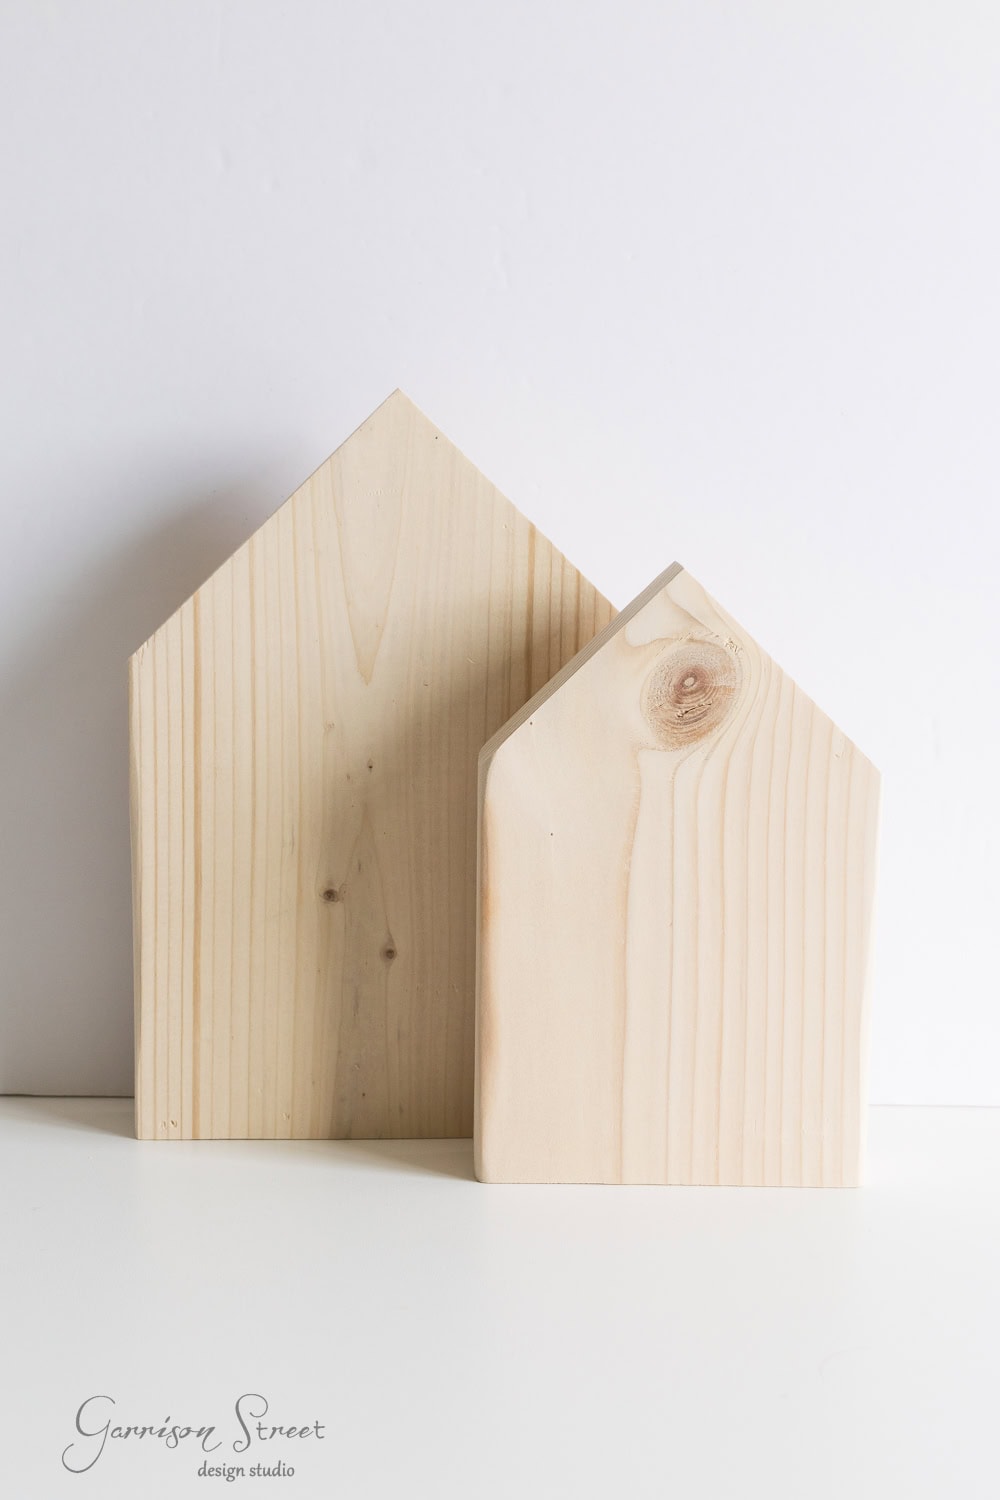
What do you think? I really like the plain wood.

If you enjoyed my latest craft, DIY Scrap Wood Houses, please share it on Facebook or hover over an image and save to Pinterest! And if you don’t already follow me on Instagram, Pinterest, or Facebook, I would love for us to be friends!
Love new decor ideas and projects? Sign up for my newsletter so you never miss a post! Plus you will get exclusive access to my free printables including the art print featured in today’s post!
This post, How to Make Easy Decorative DIY Scrap Wood Houses appeared first on Garrison Street Design Studio.
